en-US
en-US 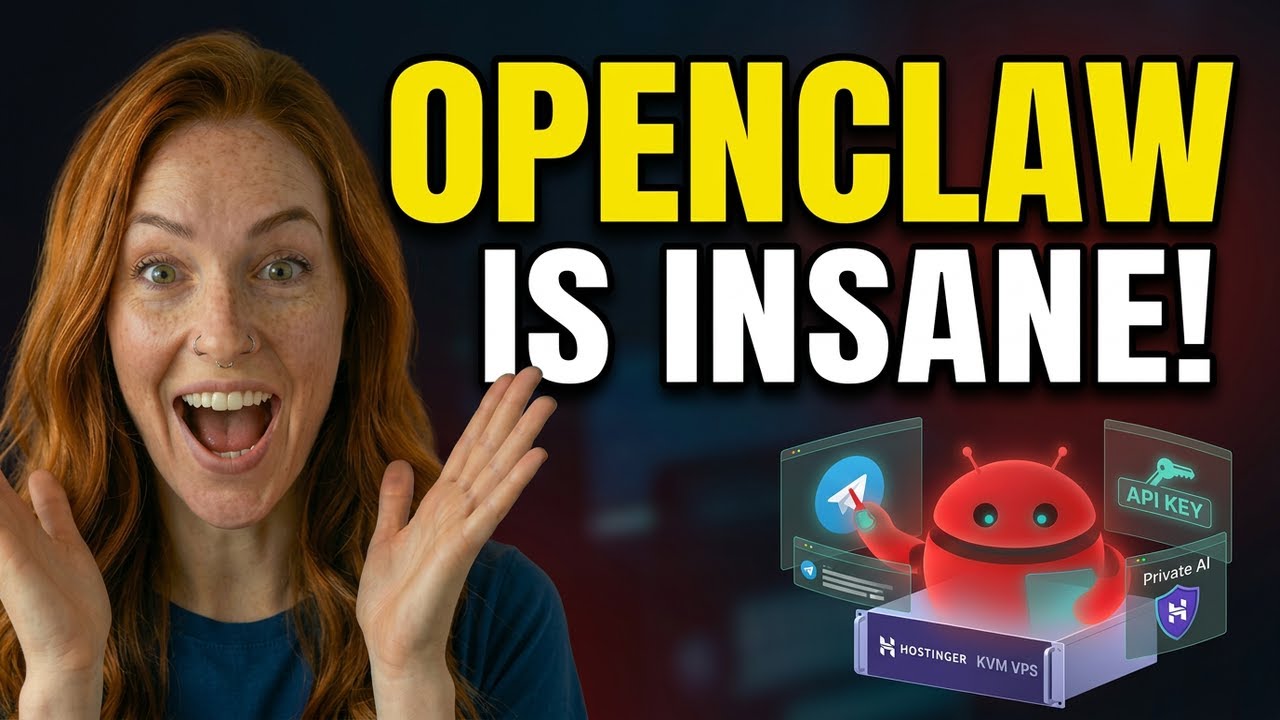
In the rapidly evolving world of artificial intelligence, many professionals are looking for ways to maintain privacy and control over their data. OpenClaw offers a robust solution: a self-hosted, personal AI assistant that works across multiple platforms like Telegram, WhatsApp, and the web.
By hosting your own assistant, you bypass the limitations of single-provider interfaces and gain the ability to switch between top-tier models like GPT-4, Claude 3.5, and Gemini 1.5 Pro instantly. Here is a step-by-step guide on how to get your private AI environment up and running in minutes.
Setting Up Your Personal AI Infrastructure
Step 1: Choosing Your VPS Hosting
To ensure your AI assistant is available 24/7, you need a reliable Virtual Private Server (VPS). Stable hosting ensures that your Telegram and WhatsApp bots respond instantly without local hardware dependencies.
- Stability: A VPS provides high uptime compared to running a bot on a local machine.
- Global Access: You can reach your AI from any device with an internet connection.
- Performance: Dedicated resources ensure smooth handling of long conversations and complex API requests.
Step 2: Configuring API Keys
OpenClaw acts as an intelligent "brain" that connects to various AI providers. You will need to gather API keys from the services you wish to use. This allows you to centralize all your subscriptions into one interface.
- OpenAI: Essential for GPT-4o and advanced reasoning tasks.
- Anthropic: Required to access the powerful Claude 3.5 Sonnet and Opus models.
- Google Gemini: Great for high-speed responses and massive context windows.
- Groq: Ideal for lightning-fast inference if you prioritize speed.
Step 3: Deploying via Docker
The most efficient way to install OpenClaw is using Docker. This containerized approach ensures that all software dependencies are met without messy manual configurations on your server.
Simply pull the OpenClaw image and run it on your VPS. Once the container is active, you can access the administrative dashboard via your server's IP address. This is where you will input the API keys you collected in the previous step.
Step 4: Integrating with Telegram
One of the best features of OpenClaw is its seamless integration with messaging apps. To set up your Telegram bot, you will need to message the "BotFather" on Telegram to create a new bot and obtain an API token.
- Create Bot: Go to BotFather and type /newbot.
- Get Token: Copy the HTTP API token provided by Telegram.
- Sync: Paste this token into your OpenClaw settings panel.
- Activate: Send a message to your new bot to start chatting with your private AI.
Step 5: Testing and Security
Before putting your assistant to work, it is vital to test the response quality across different models. You can toggle between Anthropic and OpenAI directly within the chat interface to see which provides better results for your specific tasks.
Additionally, make sure to set up access control. OpenClaw allows you to whitelist specific IDs or set passwords, ensuring that only you (and people you authorize) can use the bot, preventing unauthorized usage of your API credits.
Conclusion
Setting up OpenClaw is a game-changer for anyone serious about AI productivity. It combines the privacy of self-hosting with the versatility of the world's best LLMs, all wrapped in a familiar messaging interface.
By following this deployment guide, you have moved from being a passive user of AI platforms to owning your own intelligent infrastructure. Enjoy the speed, privacy, and flexibility of your new personal AI assistant!