en-US
en-US 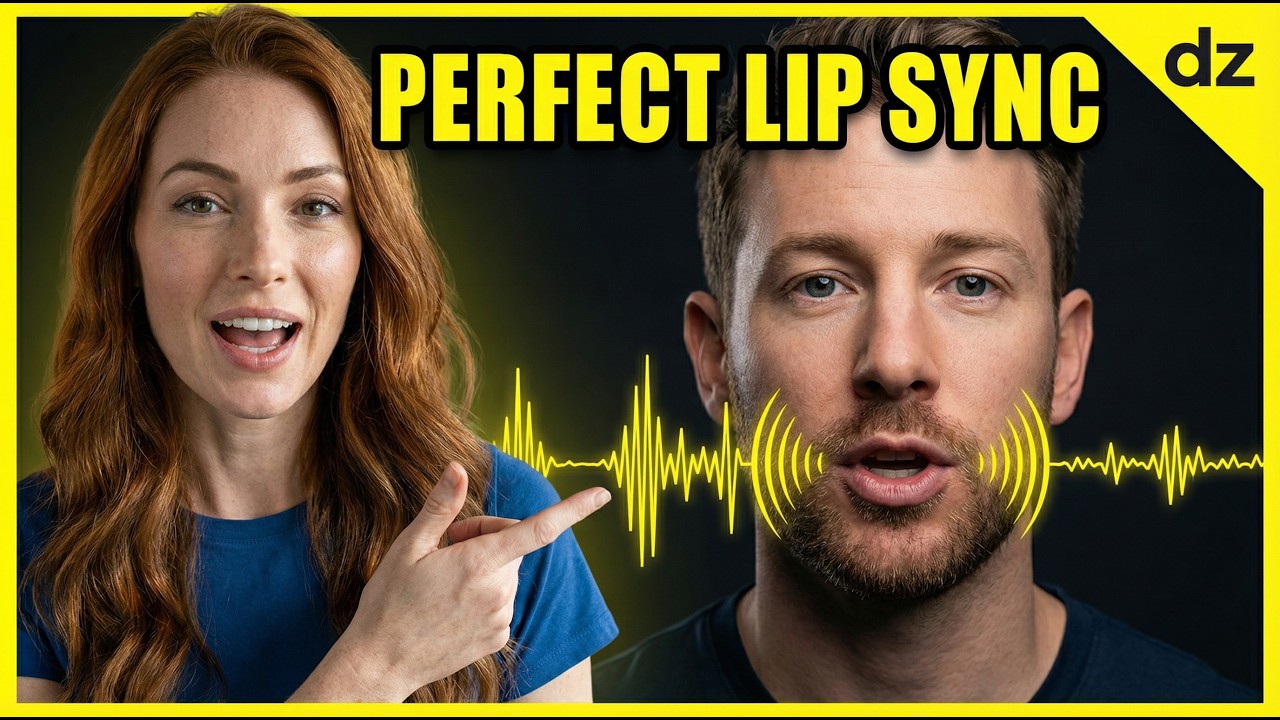
We have all seen them: AI-generated videos where the mouth looks like a blurry smudge or the face shifts unnaturally every time the character speaks. While AI video technology is moving fast, "uncanny valley" lip-syncing remains a major hurdle for creators looking to produce professional content. The secret isn't just in the AI model you use, but in the preparation of your base assets.
To move away from glitchy, robotic animations, you need a workflow that prioritizes stability. By focusing on high-quality image generation and precise audio alignment, you can create hyper-realistic talking heads that actually look convincing. In this guide, we will break down the exact steps to master AI lip-syncing using Dzine.
Building a Robust Lip Sync Workflow
1. Generating the Perfect Base Image
Success begins before you even touch the animation settings. Your base image needs to be clear, front-facing, and high-resolution to give the AI enough data to work with. Avoid images with hair covering the mouth or extreme angles, as these cause the lip-syncing algorithms to struggle.
- Lighting: Ensure even lighting across the face to prevent weird shadow artifacts during movement.
- Composition: Use a medium shot or close-up where the mouth is clearly visible and unobstructed.
- Prompting: Use descriptive keywords like "hyper-realistic," "8k resolution," and "highly detailed skin texture" to ensure the base is sharp.
2. Character Prompting Strategy
When using Dzine to generate your character, your prompt should focus on realism and neutrality. If the character is already smiling broadly or has their mouth open in the base image, the lip-sync software will have to "undo" those pixels, often resulting in blurring.
Aim for a "neutral expression" in your prompt. This gives the software a clean slate to move the jaw and lips naturally. A character with a closed, neutral mouth provides the most stable starting point for any speech animation.
3. Mastering Pro Mode Settings
Once you have your image, it is time to upload it to the animation suite. Using "Pro Mode" allows you to fine-tune the intensity of the facial movements. Many beginners make the mistake of cranking up the motion settings too high, which leads to the face "melting."
- Motion Strength: Keep this at a moderate level to ensure the head moves naturally without distorting the features.
- Denoising: Balance the denoising strength to keep the skin texture consistent across different frames.
- Face Lock: Use features that anchor the facial position to prevent the character from drifting across the screen.
4. Voice Generation and Audio Alignment
The audio is just as important as the video. If the pacing of the speech is too fast or lacks natural pauses, the lip movements will look rushed and robotic. Using high-quality AI voice models ensures that the phonemes (the sounds of speech) are distinct.
When aligning audio on the timeline, check for "drift." This happens when the video length doesn't perfectly match the audio duration. Always trim your video clips to match the exact end of the vocal track to prevent that awkward "frozen face" at the end of a sentence.
5. Fixing Common Glitches
If you notice flickering around the chin or neck, it is often due to the background being too complex. A simpler background allows the AI to focus its processing power on the facial movements. If a glitch occurs, try re-rendering with a slightly different seed or reducing the movement intensity.
- Consistency: Maintain the same aspect ratio from image generation to final export.
- Upscaling: Always upscale your final video to sharpen the details around the lips and eyes.
- Editing: Use quick cuts between different angles to hide any minor imperfections in long-form dialogue.
Conclusion
Creating realistic AI lip-syncing is no longer about luck; it is about following a repeatable system. By starting with a high-quality, neutral base image and carefully managing your motion settings in Dzine, you can produce content that rivals traditional video production. Remember that the goal is to make the technology invisible so your audience focuses on the message, not the pixels.